
La puissance de la technologie laser à fibre dans votre atelier
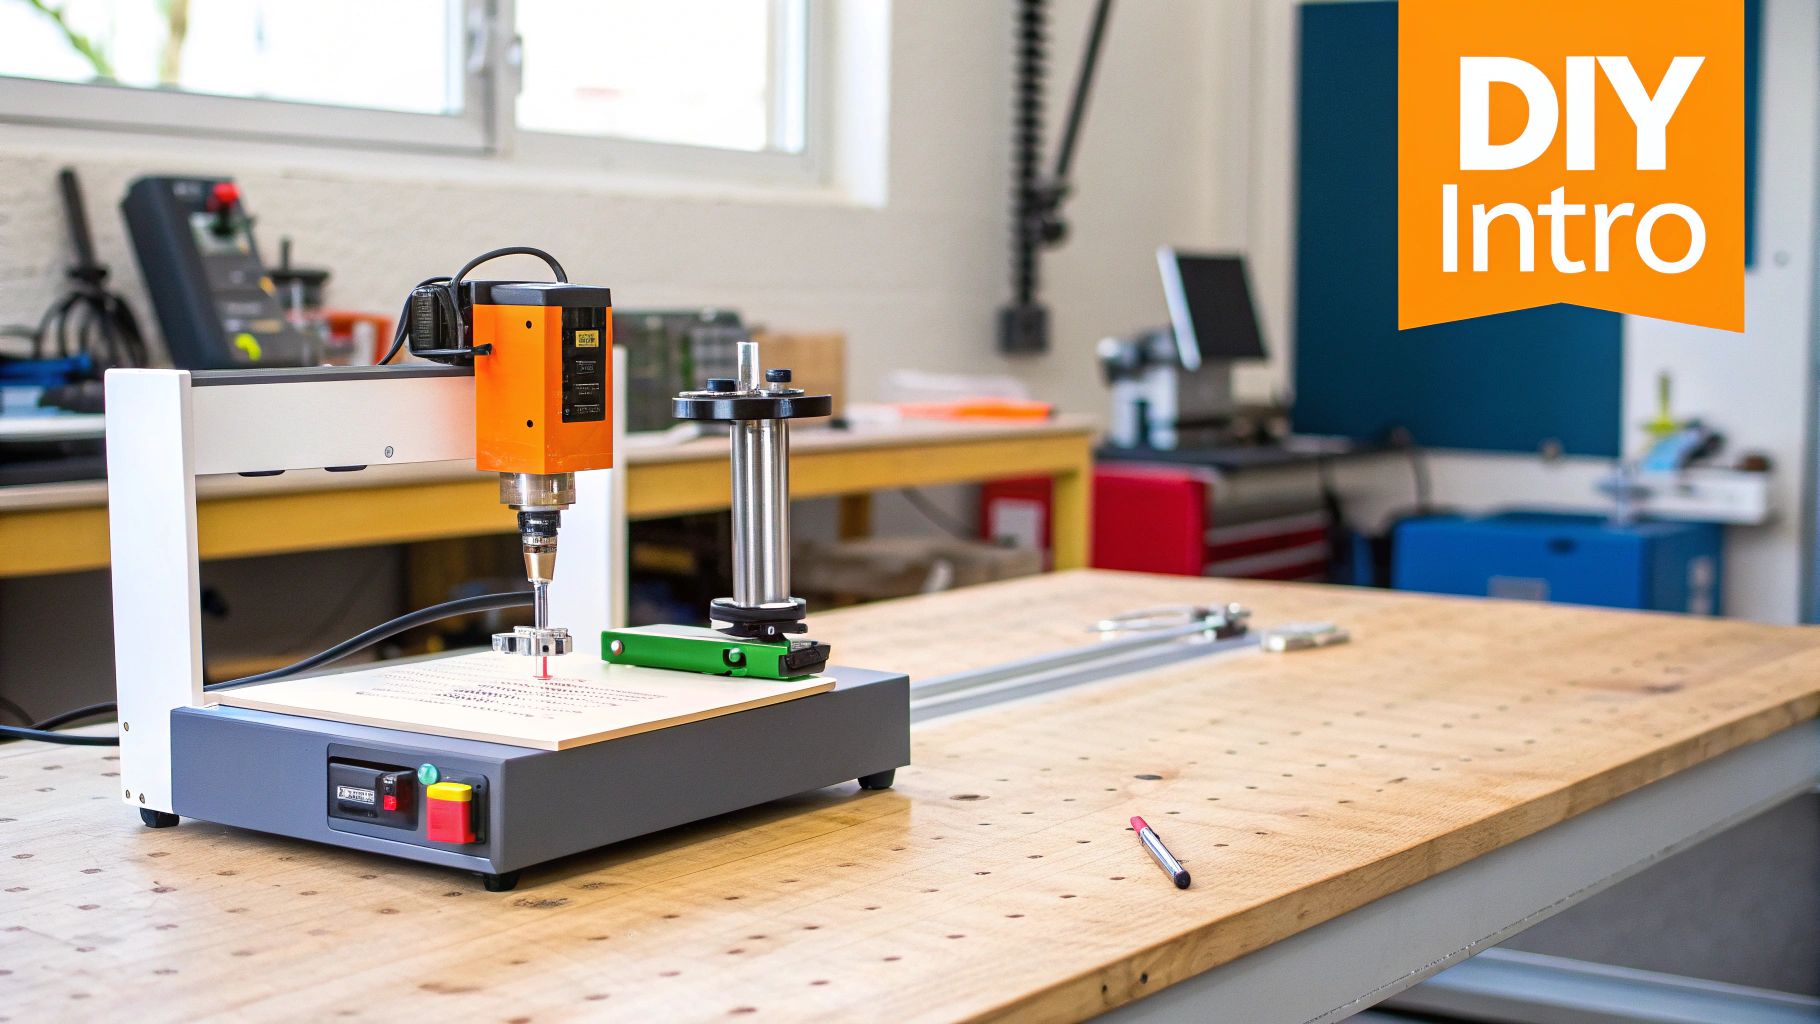
Les lasers à fibre DIY offrent de nouvelles possibilités passionnantes tant pour les créateurs que pour les professionnels. Ces systèmes allient précision, efficacité et longue durée de vie, ce qui les distingue des lasers CO2 traditionnels et des lasers à diode. Cela se traduit par des découpes plus nettes, un fonctionnement plus efficace et un meilleur retour sur investissement.
La science derrière le faisceau
Le cœur d'un laser à fibre réside dans les fibres dopées aux terres rares. Ces fibres spécialisées amplifient la lumière, créant un faisceau très concentré et puissant. C'est similaire à la façon dont une loupe concentre la lumière du soleil en un point petit et intense. Cette énergie concentrée permet aux lasers à fibre de couper et de graver avec une précision incroyable.
Les lasers à fibre peuvent atteindre des tolérances qui surpassent les méthodes traditionnelles, permettant des designs complexes et un travail détaillé. Cette précision ouvre la voie à des projets auparavant difficiles ou impossibles à réaliser dans un atelier domestique.
Avantages des lasers à fibre
Plusieurs avantages clés font des lasers à fibre DIY une option attrayante :
- Qualité de faisceau supérieure : Le faisceau hautement focalisé permet des détails plus fins et des coupes plus nettes, minimisant le gaspillage de matériau.
- Efficacité remarquable : Les lasers à fibre convertissent une plus grande partie de la puissance d'entrée en puissance laser utilisable, ce qui entraîne une réduction des coûts d'exploitation.
- Longévité exceptionnelle : La conception à semi-conducteurs contribue à la robustesse et à une longue durée de vie, réduisant ainsi la maintenance.
- Taille compacte : Les lasers à fibre sont généralement plus compacts que les autres types de lasers, ce qui les rend bien adaptés aux ateliers à domicile.
Lasers à fibre dans le monde réel
Les lasers à fibre transforment les ateliers domestiques. Imaginez découper sans effort des formes complexes dans le métal, créer des gravures personnalisées sur divers matériaux, ou même construire des modèles 3D complexes. Cette technologie, autrefois réservée aux environnements industriels, est désormais facilement accessible aux amateurs de bricolage.
Cette accessibilité accrue découle de la demande croissante et des avancées dans la technologie des lasers à fibre. Cela conduit à des systèmes plus abordables et conviviaux. Le marché mondial des lasers à fibre a connu une croissance significative, atteignant 4,15 milliards USD d'ici 2024. Les projections estiment qu'il atteindra 10,75 milliards USD d'ici 2032, avec un TCAC de 12,8%. Cette croissance est stimulée par une adoption accrue dans divers secteurs, notamment l'automobile, l'électronique et l'aérospatiale, démontrant les applications étendues de la technologie. Des statistiques plus détaillées sont disponibles ici : https://www.fortunebusinessinsights.com/fiber-laser-market-110915
Vous pourriez également être intéressé par cette ressource : Comment maîtriser...
Avec des capacités et une accessibilité croissantes, les lasers à fibre DIY représentent une avancée significative pour les ateliers à domicile. À mesure que la technologie continue d'évoluer, nous pouvons anticiper des développements encore plus passionnants à l'avenir, permettant aux créateurs d'explorer de nouveaux horizons créatifs et de produire des résultats de qualité professionnelle dans leurs propres ateliers.
Construire votre laser à fibre DIY : composants importants
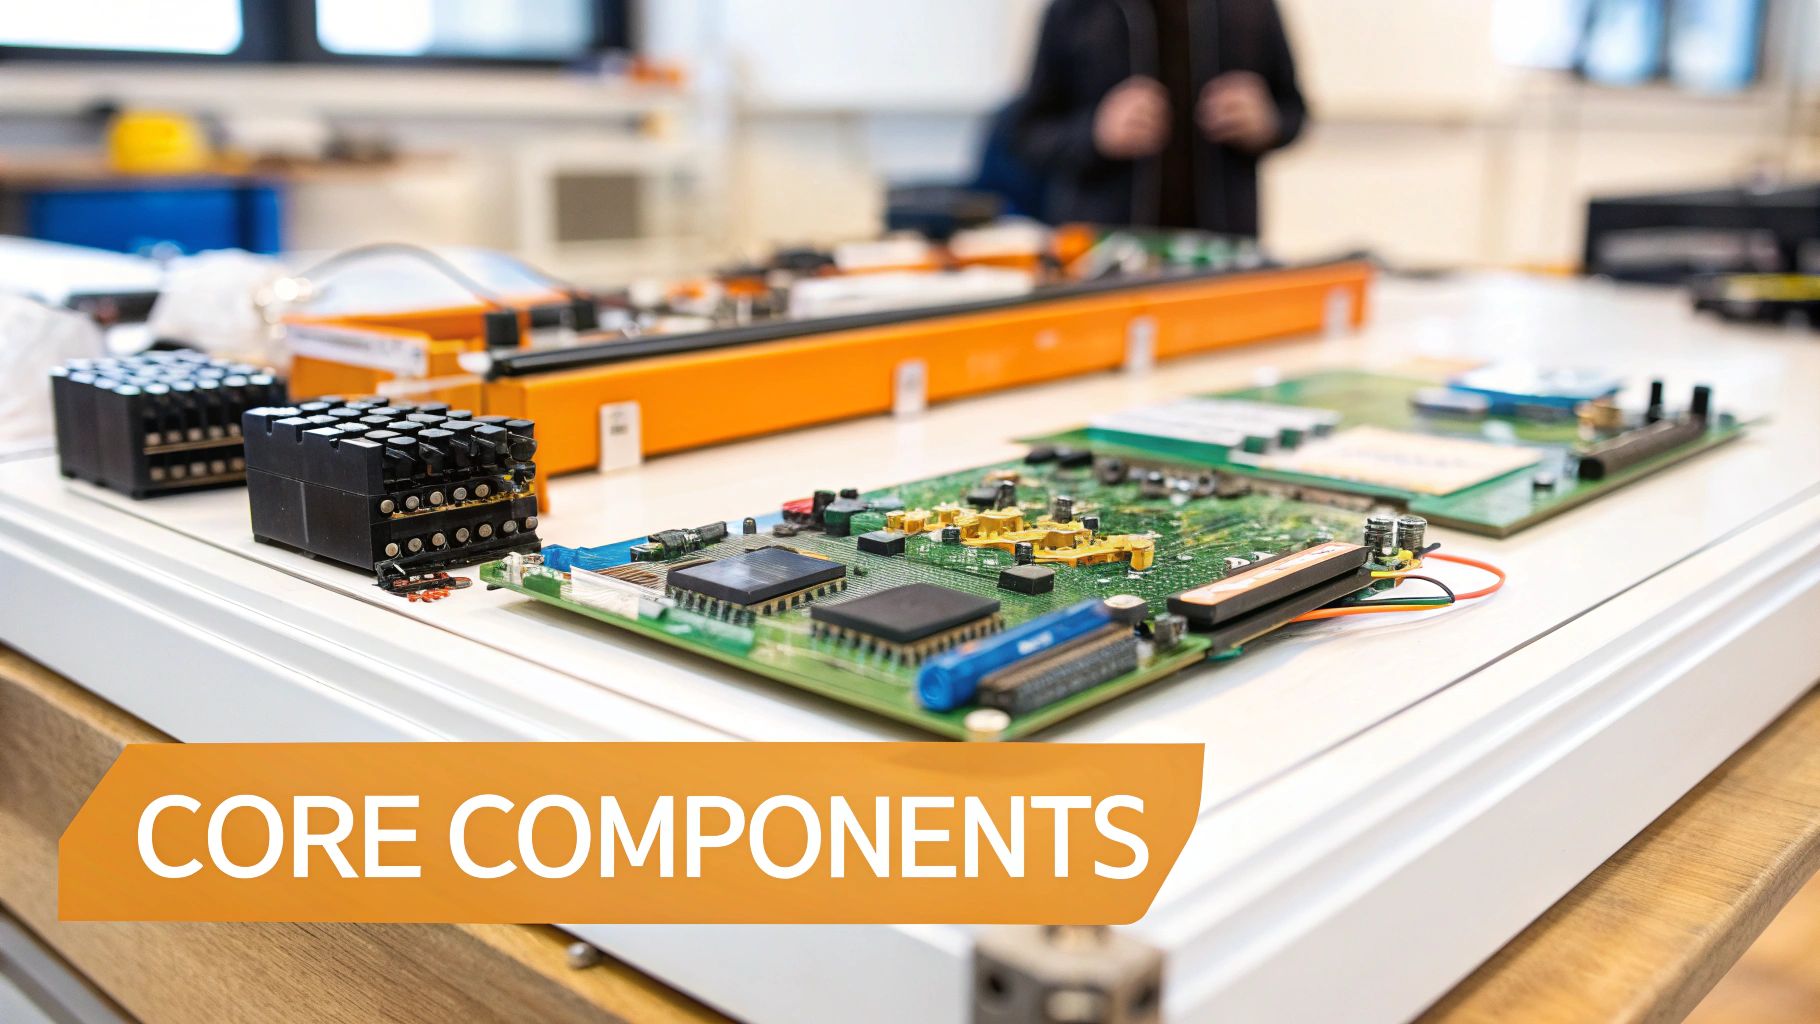
Construire un laser à fibre DIY commence par comprendre ses composants principaux. Chaque partie joue un rôle crucial dans la performance du système. Cette section explore ces composants essentiels et offre des conseils pour choisir les bonnes pièces en fonction de vos besoins et de votre budget.
Sélectionner la bonne source laser
La source laser est le cœur de votre laser à fibre. Choisir une source qui équilibre puissance, longueur d'onde et coût est essentiel. Pour les projets DIY, les lasers à fibre dopés à l'ytterbium (Yb), générant une longueur d'onde autour de 1064 nm, sont idéaux pour le travail des métaux.
UN 1500W le laser à fibre est adapté à la découpe de matériaux plus fins. A 6000W le laser, en revanche, peut traiter des métaux plus épais. Des fabricants comme Raycus et Max proposent diverses options à différents niveaux de prix. Vous apprendrez comment vous procurer des pièces de qualité sans vous ruiner, en vous concentrant sur les spécifications essentielles.
Optimisation de la livraison du faisceau
La tête de découpe laser concentre et dirige le faisceau laser sur le matériau. La puissance de votre laser et l'application prévue déterminent la tête de découpe appropriée. Les têtes de découpe à autofocus, comme la BS03K, offrent une commodité et une précision accrues, notamment pour les découpes complexes.
Le système de distribution du faisceau, composé de miroirs et de lentilles, guide le faisceau de la source à la tête de coupe. Des composants optiques de haute qualité sont essentiels pour maintenir la qualité du faisceau et réaliser des découpes précises, évitant ainsi des erreurs coûteuses dues à des problèmes de compatibilité. Pour plus d'informations sur les techniques laser, consultez cet article : Comment maîtriser....
Systèmes et structure de contrôle de mouvement
Le système de contrôle de mouvement, composé de servomoteurs et de pilotes, contrôle le mouvement de la tête de coupe. Un mouvement précis et synchronisé est essentiel pour une découpe précise, en particulier avec des designs complexes. Yaskawa, Inovance, et Leadshine proposent des packs servo fiables pour divers budgets.
Une structure robuste et stable minimise les vibrations et maintient la précision pendant le fonctionnement. Un cadre bien conçu garantit des performances constantes et prolonge la durée de vie du laser. Les constructeurs soucieux de leur budget peuvent explorer des matériaux alternatifs sans sacrifier la qualité.
Composants de support essentiels
Plusieurs systèmes de support sont essentiels pour un laser à fibre DIY fonctionnel :
- Refroidisseur laser : Régule la température de la source laser, empêchant la surchauffe. Les refroidisseurs S&A sont une option populaire.
- Système de contrôle auxiliaire des gaz : Des gaz comme l'oxygène, l'azote ou l'air comprimé assistent le processus de découpe, améliorant la qualité et l'efficacité.
- Table coulissante de l'axe Z : Permet le mouvement vertical de la tête de coupe pour un réglage précis de la mise au point et du contrôle de la profondeur.
- Système électrique : Un système électrique robuste avec un câblage approprié et des dispositifs de sécurité est crucial pour un fonctionnement sûr et fiable.
- Logiciel : Le contrôle du laser nécessite un logiciel spécialisé, avec des options allant des solutions open-source aux packages premium.
Comparaison des composants : budget vs performance
Le tableau suivant, "Comparaison des composants pour laser à fibre DIY", compare les choix de composants selon différents niveaux de budget. Cela vous aide à prendre des décisions éclairées en fonction de vos besoins et de vos ressources.
Comparaison des composants essentiels pour construire un laser à fibre DIY à différents niveaux de budget
| Composant | Option budgétaire | Option milieu de gamme | Option haut de gamme | Spécifications clés |
|---|---|---|---|---|
| Source laser | Raycus 1500W | 3000 W max. | Raycus 6000W | Puissance, longueur d'onde |
| Tête de coupe | BT220 (Manuel) | BS03K (Auto) | BLT421 (Voiture) | Mise au point, précision |
| Contrôle de mouvement | Pack servo Inovance | Pack de servos Yaskawa | Pack Servo Leadshine | Vitesse, précision |
| Refroidisseur | S&A | S&A | S&A | Capacité de refroidissement |
| Logiciel | XC3000 | FSCUT2000E | FSCUT4000E | Fonctionnalités, contrôle |
Ce tableau résume les principales options de composants selon différents niveaux de budget, mettant en évidence les compromis entre coût et performance. Prenez en compte les exigences de votre projet lors de vos choix.
En examinant attentivement chaque composant, vous pouvez construire un laser à fibre DIY adapté à vos besoins. Priorisez la sécurité et effectuez des recherches approfondies pour garantir une construction réussie. Cela pose les bases d'un système de laser à fibre DIY fiable et performant.
Maîtrise de l'assemblage : Construire votre système de laser à fibre DIY
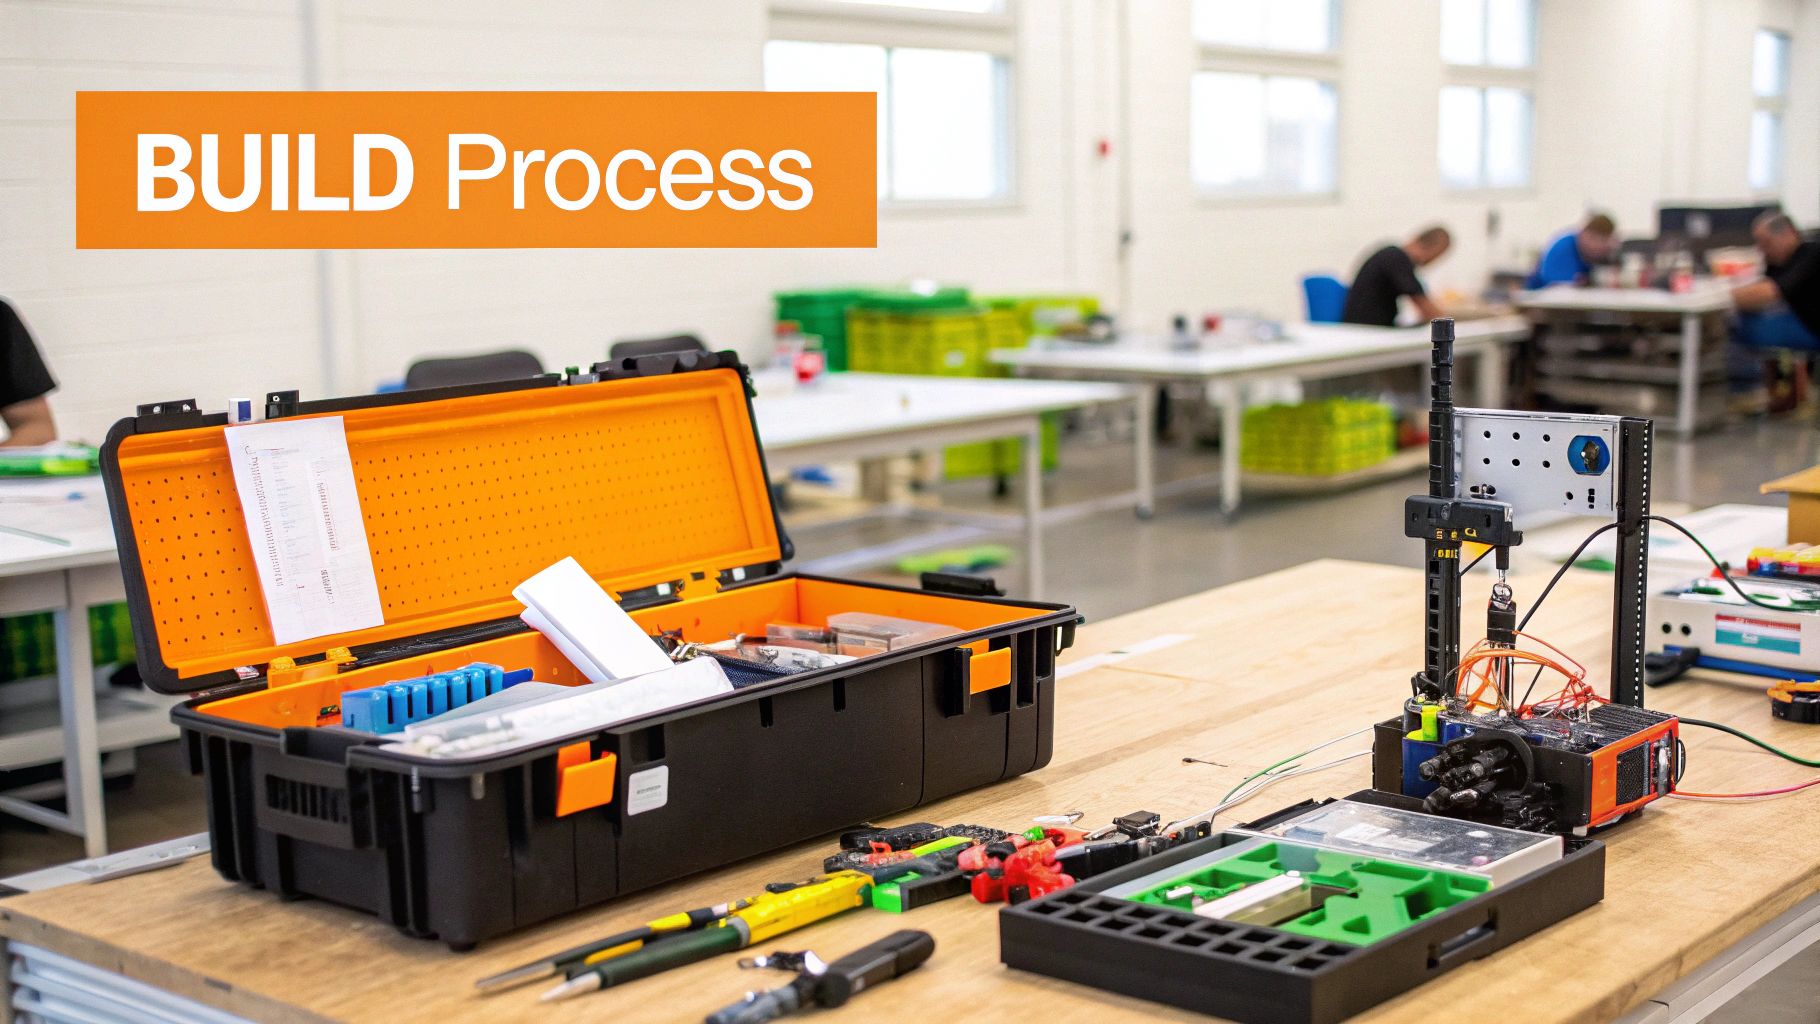
Transformer des pièces séparées en un laser à fibre DIY fonctionnel nécessite un assemblage minutieux. Ce guide propose une approche étape par étape, intégrant les conseils de constructeurs expérimentés. Nous irons au-delà des bases, offrant des astuces pratiques pour garantir que votre laser fonctionne de manière fiable dès le départ.
Préparation de l'espace de travail et fondamentaux de la sécurité
Commencez par créer un espace de travail dédié et bien éclairé. Un espace propre et organisé est essentiel pour la sécurité et une assemblage efficace. Assurez-vous d'avoir une bonne ventilation pour éliminer les fumées produites pendant l'opération.
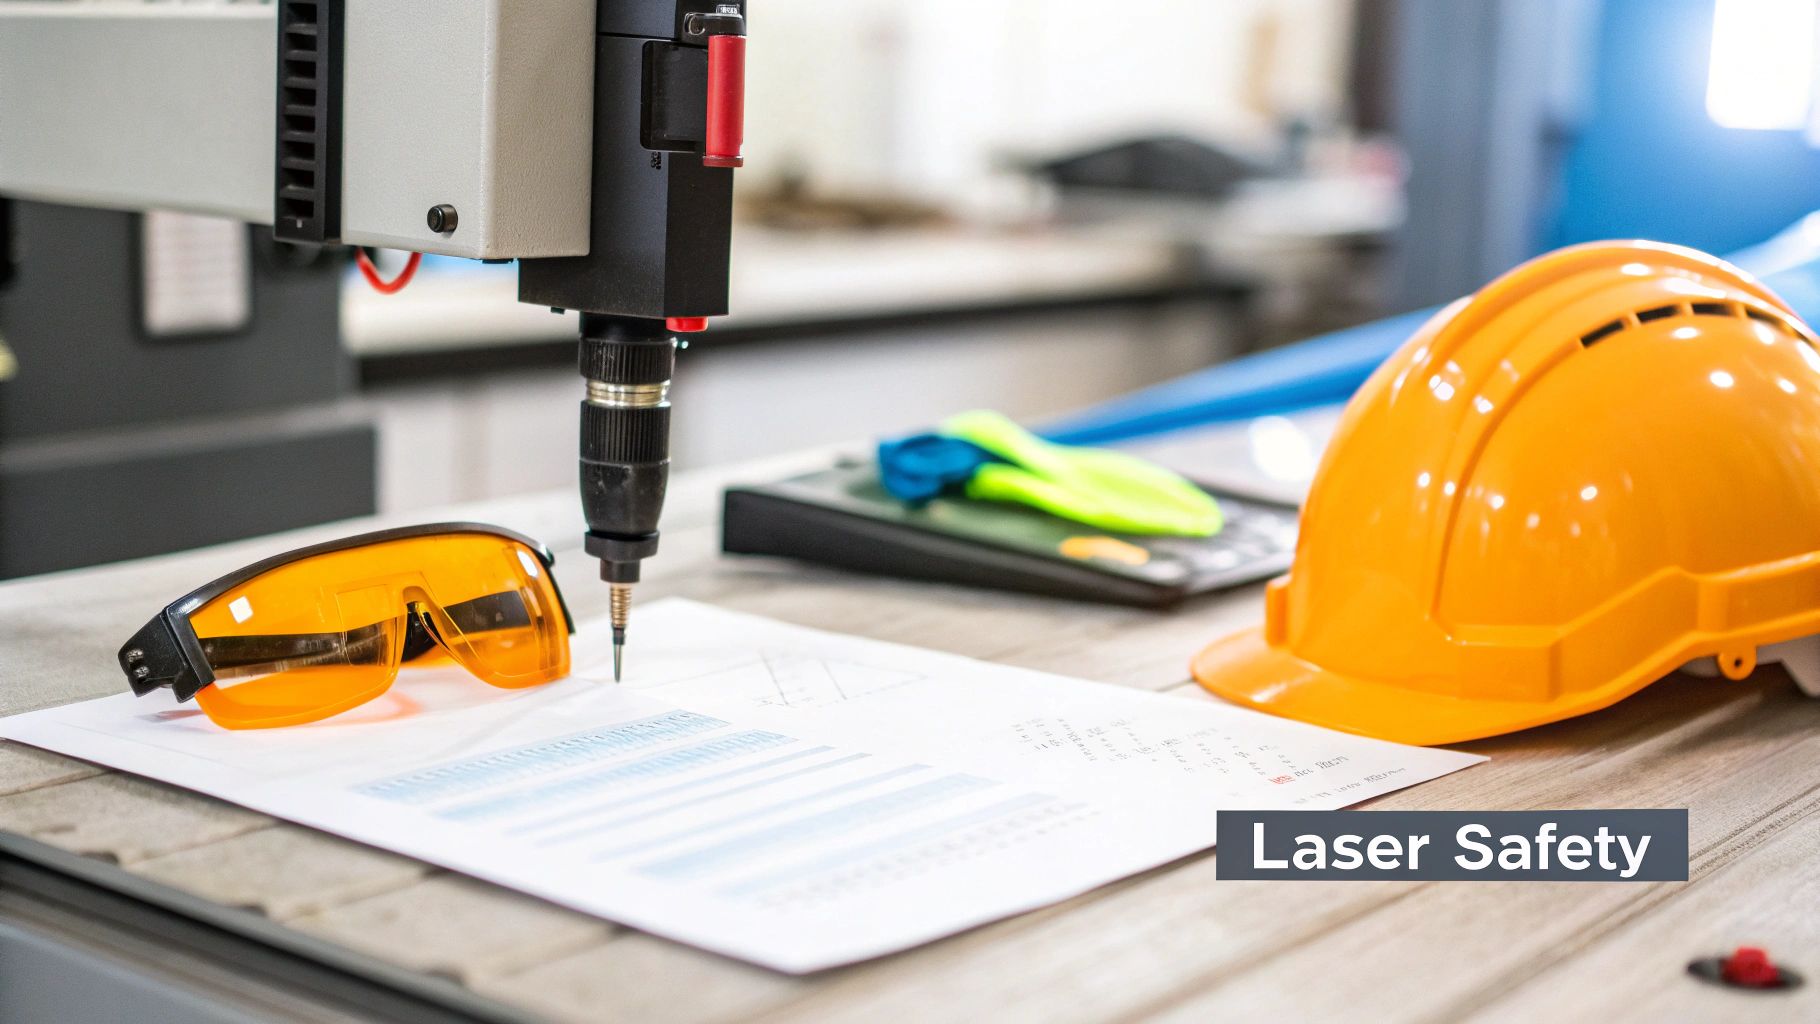
La sécurité est primordiale lorsqu'on travaille avec des lasers. Portez toujours des lunettes de sécurité laser appropriées avec le bon indice de densité optique (DO) pour une longueur d'onde de 1064 nm. Cela protège vos yeux de la lumière intense du laser.
Assemblage Structurel : Une Base Solide
Un cadre stable minimise les vibrations et maintient la précision. Assemblez le cadre selon votre conception, en vous assurant que toutes les connexions sont sécurisées et correctement alignées.
Cette étape fondamentale impacte directement la performance et la fiabilité à long terme de votre laser à fibre DIY. Un cadre solide est crucial pour des résultats constants.
Montage Optique Précis : Le Cœur du Système
Le montage des composants optiques nécessite précision et soin. Montez solidement la source laser, en assurant un alignement correct avec le système de distribution du faisceau.
Ce système, composé de miroirs et de lentilles, nécessite un alignement méticuleux pour maintenir la qualité du faisceau afin d'assurer des découpes précises. Même de petits désalignements peuvent réduire considérablement les performances. Utilisez des supports de montage appropriés et des outils d'alignement pour une meilleure précision.
Configuration du système de mouvement : Mouvement contrôlé
Intégrez le système de contrôle de mouvement, y compris les servomoteurs et les pilotes. Assurez-vous qu'ils sont correctement câblés et configurés.
Un mouvement précis et synchronisé est essentiel pour une découpe exacte. Suivez attentivement les instructions du fabricant lors de la calibration du système de mouvement pour une performance optimale. Cela vous aidera à obtenir la précision souhaitée dans vos projets.
Intégration électronique : alimentation du système
Connectez l'électronique, y compris le contrôleur laser, le refroidisseur et le système de contrôle des gaz auxiliaires, conformément au schéma de câblage. Vérifiez toutes les connexions pour vous assurer qu'elles sont sécurisées et ont la polarité correcte.
Une bonne gestion des câbles est essentielle pour prévenir les interférences et maintenir un agencement ordonné. Cette approche organisée facilite le dépannage et la maintenance future.
Gestion de la chaleur et tests : assurer la fiabilité
Utilisez des stratégies de gestion thermique appropriées pour éviter la surchauffe. Assurez-vous que le refroidisseur laser est correctement connecté et de la bonne taille pour votre source laser.
Après avoir tout assemblé, testez minutieusement pour vérifier que tous les systèmes fonctionnent correctement. Commencez avec des réglages de faible puissance et augmentez lentement la puissance tout en surveillant le faisceau et le système de mouvement.
Cette approche progressive vous permet d'identifier et de résoudre rapidement tout problème. Des tests approfondis sont essentiels pour tirer le meilleur parti de votre laser à fibre DIY. La croissance du marché des lasers à fibre, en particulier des lasers à fibre ultrarapides avec un TCAC prévu de 11.2%, souligne leur valeur croissante. Pour plus d'informations sur le marché des lasers à fibre, visitez : https://www.alliedmarketresearch.com/fiber-laser-market
Donner vie à votre laser à fibre DIY avec un logiciel
Construire le matériel pour votre laser à fibre DIY n'est que la première étape. Pour libérer pleinement son potentiel, vous aurez besoin du bon logiciel. Cette section explore diverses options logicielles, des programmes gratuits et open-source aux solutions premium, et vous guide à travers quelques configurations essentielles.
Options logicielles : équilibrer coût et capacité
Choisir le bon logiciel est un exercice d'équilibre entre le budget et les fonctionnalités souhaitées. Le logiciel open-source, comme K40 Whisperer, offre un point de départ économique pour le contrôle laser de base. Cependant, il présente des limitations en termes de fonctionnalités.
Logiciel premium, comme LightBurn et LaserCut, offre des fonctionnalités avancées telles que l'optimisation du chemin de l'outil et des outils de conception sophistiqués. Bien que ces logiciels aient un coût, le contrôle accru et la précision qu'ils offrent peuvent considérablement améliorer vos résultats. Attendez-vous à une courbe d'apprentissage plus raide, mais l'investissement en vaut souvent la peine pour les passionnés de laser à fibre DIY dévoués.
Paramètres du moteur : le mouvement précis est essentiel
Des réglages précis du moteur sont essentiels pour une découpe et une gravure précises. Votre logiciel choisi vous permet d'ajuster finement l'accélération, la vitesse et les pas par millimètre. Considérez cela comme le calibrage du moteur de votre laser à fibre pour des performances optimales.
Les moteurs correctement configurés garantissent un mouvement fluide et régulier de la tête laser. Cela impacte directement la qualité de vos produits finis. En revanche, des moteurs mal configurés peuvent entraîner des mouvements saccadés et des découpes inexactes, surtout lorsqu'il s'agit de réaliser des designs complexes.
Paramètres de puissance laser : optimisation du matériau
Différents matériaux réagissent différemment à la puissance du laser. Votre logiciel offre la possibilité d'ajuster finement la puissance de sortie, la durée de l'impulsion et la fréquence. Ce contrôle vous permet d'optimiser les réglages pour une gamme de matériaux, du papier délicat aux métaux robustes.
Par exemple, couper du bois fin nécessite une puissance plus faible et des vitesses plus élevées par rapport à la découpe d'acrylique plus épais. Le contrôle logiciel simplifie le passage entre ces profils de matériaux, vous faisant gagner du temps et évitant d'endommager le matériau.
Tests et sécurité : garantir un fonctionnement fiable
Avant de commencer un projet, il est bon d'établir des protocoles de test. Cela valide votre système et permet de détecter les problèmes potentiels dès le début. Commencez avec des réglages de faible puissance et augmentez-les progressivement, en observant le comportement du laser sur un matériau de rebut.
La plupart des logiciels incluent des fonctionnalités de sécurité essentielles, telles que des arrêts d'urgence et des verrouillages. Les configurer correctement est primordial pour protéger à la fois vous-même et votre équipement. Ces mesures de sécurité aident à prévenir les accidents et à créer un environnement de travail plus sûr. Envisagez d'ajouter des interrupteurs de fin de course pour restreindre davantage les mouvements et éviter les collisions.
Techniques avancées : améliorer votre flux de travail
Les artisans expérimentés utilisent des logiciels pour gérer des trajectoires d'outil complexes pour des designs élaborés. Cela offre un contrôle précis sur le mouvement du laser. Ils créent également et enregistrent des profils de machine pour divers matériaux, ce qui simplifie la configuration des projets et garantit la cohérence.
En maîtrisant ces techniques, vous pouvez élever vos projets de laser à fibre DIY à un niveau professionnel. Des résultats constants et de haute qualité ainsi que des flux de travail efficaces deviennent la norme, libérant tout votre potentiel créatif. Rejoindre des communautés en ligne de laser DIY peut fournir des conseils précieux et des ressources pour améliorer vos compétences en logiciel.
Sécurité avant tout : se protéger soi-même et son atelier
Construire un laser à fibre DIY est une expérience enrichissante. Cependant, la sécurité doit toujours être votre priorité absolue. Cette section couvre les pratiques de sécurité essentielles, tirées de l'expérience de fabricants chevronnés, pour protéger à la fois vous-même et votre espace de travail.
Protection des yeux : essentielle pour le travail au laser à fibre
Les lasers à fibre émettent une lumière intense et invisible à des longueurs d'onde dangereuses pour l'œil nu. Cela rend la protection oculaire appropriée non seulement importante, mais absolument essentielle. Les lunettes de sécurité ordinaires ne suffiront pas. Vous aurez besoin de lunettes de sécurité laser spécialement conçues pour la longueur d'onde de 1064 nm émise par la plupart des lasers à fibre DIY.
Cette lunette doit avoir le bon indice de Densité Optique (DO). Un indice DO insuffisant ne bloquera pas efficacement la longueur d'onde, ce qui peut entraîner des dommages oculaires permanents. Ne prenez pas de risques avec votre vue.
Conception de l'enceinte : Contenir les dangers
Un boîtier bien conçu est votre première ligne de défense. Il contient le faisceau laser et toutes les réflexions, empêchant toute exposition accidentelle. Construisez votre boîtier avec des matériaux non réfléchissants.
Incorporez également des verrous de sécurité. Ces dispositifs de sécurité coupent automatiquement le laser si l'enceinte est ouverte pendant le fonctionnement, ajoutant une couche supplémentaire de protection.
Ventilation : Protéger votre santé respiratoire
La découpe et la gravure au laser peuvent produire des fumées et des particules, surtout en fonction du matériau avec lequel vous travaillez. Un système de ventilation approprié est crucial. Il élimine ces dangers aéroportés, maintenant ainsi un environnement de travail sain.
Considérez deux types de ventilation : ventilation par extraction locale près de la zone de découpe et ventilation générale de l'atelier pour faire circuler l'air frais dans tout l'espace.
Sécurité électrique : éviter les chocs et les dangers
Les lasers haute puissance utilisent des courants électriques importants. Mettez en œuvre des mesures de sécurité électrique robustes. Cela inclut une mise à la terre appropriée, l'utilisation de câblage et de connecteurs de calibre adapté, ainsi que l'installation d'interrupteurs d'arrêt d'urgence.
Inspectez régulièrement vos connexions électriques pour tout signe d'usure. Pour plus de conseils, vous pourriez être intéressé par : Comment maîtriser...
Procédures d'urgence : Être préparé à l'imprévu
Des accidents peuvent survenir. Établissez des protocoles d'arrêt d'urgence clairs. Connaissez l'emplacement des interrupteurs d'arrêt d'urgence pour le laser et l'alimentation principale.
Assurez-vous que tout le monde dans l'atelier connaît ces procédures. Gardez également un extincteur à portée de main.
Maintenance : prévenir les problèmes avant qu'ils ne surviennent
Un entretien régulier permet à votre laser à fibre DIY de fonctionner en toute sécurité et fiabilité. Cela inclut la vérification de l'alignement optique, l'inspection du système de livraison du faisceau pour détecter tout dommage, et le nettoyage de la tête de découpe.
Élaborez un calendrier d'entretien et respectez-le. La maintenance préventive est toujours préférable à la gestion d'une panne.
La popularité croissante des lasers à fibre, en particulier sur les marchés de la région Asie-Pacifique et de l'Europe, témoigne de leur importance industrielle grandissante, stimulée par l'automatisation et l'innovation dans la technologie laser. En savoir plus : Trouvez des statistiques plus détaillées ici
En suivant ces pratiques de sécurité, vous créerez un environnement sûr et productif pour vos projets de laser à fibre DIY, vous protégeant et assurant la longévité de votre équipement.
Libérer le potentiel créatif de votre laser à fibre DIY
Votre laser à fibre DIY terminé ouvre un monde de possibilités. Plus qu'un simple outil, c'est une centrale de production polyvalente pour votre atelier à domicile. Cette section explore des applications pratiques de la communauté des makers, montrant comment obtenir des résultats de qualité professionnelle.
Traitement des matériaux : de la découpe du métal à la gravure complexe
Les lasers à fibre DIY brillent vraiment lorsqu'il s'agit de découpe précise des métaux. Imaginez fabriquer des composants complexes avec des tolérances strictes – un exploit autrefois réservé à des équipements industriels coûteux. Mais le potentiel créatif ne s'arrête pas aux métaux. Ces lasers peuvent marquer une grande variété de matériaux, y compris les plastiques, le bois, et même le verre.
Cette polyvalence transforme votre laser à fibre DIY en un véritable outil polyvalent. Une seule machine peut gérer un large éventail de projets, de la découpe d'engrenages personnalisés pour une construction robotique à la gravure de motifs personnalisés sur des cadeaux en bois.
Optimisation des paramètres pour différents matériaux
Obtenir des résultats de premier ordre nécessite de comprendre comment différents matériaux réagissent au laser. Cela implique d'ajuster des paramètres tels que la puissance, la vitesse et la fréquence. Par exemple, couper de l'acier inoxydable fin nécessite des réglages différents par rapport à la gravure de l'acrylique.
Pensez-y comme à la cuisine : ajuster la température et le temps de cuisson est crucial pour différents plats. De même, affiner les paramètres de votre laser est essentiel pour obtenir le résultat souhaité sur chaque matériau.
Techniques pour des résultats de qualité professionnelle
Les fabricants accomplis utilisent des stratégies spécifiques pour produire des gravures et des découpes de qualité professionnelle. Ces stratégies impliquent le contrôle de la distance focale, l'utilisation de gaz d'assistance appropriés et l'optimisation des trajectoires d'outil. Par exemple, l'utilisation de l'oxygène comme gaz d'assistance peut améliorer considérablement la qualité de la coupe sur certains métaux.
De plus, comprendre les zones affectées par la chaleur et prévenir la déformation est primordial, en particulier lorsqu'on travaille avec des matériaux fins. Maîtriser ces techniques avancées élève les projets du niveau amateur au niveau professionnel.
Dépannage des problèmes courants
Même les fabricants expérimentés rencontrent parfois des difficultés. Les problèmes courants incluent la déformation due à la chaleur, la pénétration incomplète et le marquage incohérent. Apprendre à résoudre ces problèmes fait partie intégrante de l'expérience DIY avec un laser à fibre.
Par exemple, une pénétration incomplète pourrait indiquer une puissance insuffisante ou des réglages de vitesse inappropriés. Traiter efficacement ces problèmes garantit des résultats constants et de haute qualité. C'est similaire au diagnostic et à la réparation des problèmes de voiture – cela vous permet de maintenir des performances optimales.
Développer et personnaliser votre configuration
La communauté du laser à fibre DIY repousse continuellement les limites de ce qui est réalisable. Cela implique de personnaliser les configurations pour des applications spécialisées. Ajouter un axe rotatif, par exemple, permet de graver des objets cylindriques. Passer à une source laser plus puissante élargit la gamme de matériaux avec lesquels vous pouvez travailler.
Se connecter avec la communauté DIY du laser à fibre
Se connecter avec la communauté toujours croissante des passionnés de lasers à fibre DIY offre un soutien et une inspiration inestimables. Les forums en ligne, les groupes sur les réseaux sociaux et les makerspaces fournissent des plateformes pour partager des connaissances, résoudre des problèmes et présenter des créations. Cet esprit de collaboration favorise l'innovation et aide chacun à atteindre un plus grand succès.
Pour mieux comprendre comment différents matériaux peuvent être traités, consultez le tableau ci-dessous.
Capacités de traitement des matériaux
Le tableau ci-dessous offre un aperçu général des capacités de traitement des matériaux avec un laser à fibre DIY. Gardez à l'esprit qu'il s'agit de directives ; les réglages optimaux varient en fonction de votre machine et de votre configuration spécifiques.
| Matériel | Vitesse de coupe | Réglage de la puissance | Applications adaptées | Considérations Spéciales |
|---|---|---|---|---|
| Acier inoxydable | Moyen-élevé | Haut | Pièces de précision, boîtiers | Utiliser un gaz d'assistance à l'oxygène |
| Acier doux | Haut | Moyen-élevé | Composants structurels, outils | Considérer la zone affectée par la chaleur |
| Acrylique | Moyen | Faible-Moyen | Signalisation, articles décoratifs | Utiliser du gaz d'assistance pneumatique |
| Bois | Faible-Moyen | Faible | Gravure, découpe | Un contrôle précis de la puissance est essentiel |
Pour une exploration approfondie de la technologie laser et une communauté dynamique, visitez Laser Insights China. Cette ressource propose des articles détaillés, des guides techniques et des interviews d'experts sur des sujets allant de la soudure laser à fibre DIY aux applications laser industrielles avancées.