
The Magic Behind Fiber Laser Technology
Fiber lasers represent a significant leap forward in laser cutting, offering exciting new possibilities for DIY enthusiasts. Unlike their CO2 laser counterparts that rely on a gas mixture, fiber lasers employ a solid-state gain medium: a specially doped optical fiber. This fundamental difference results in a laser source that is more compact, more efficient, and delivers greater power – perfect for a diverse range of DIY metal cutting projects.
How Fiber Lasers Work
The process starts with seed lasers, emitting low-power light. This initial light is then amplified within the doped optical fiber, the gain medium of the laser. This fiber is carefully coiled within a protective cladding, guiding and intensifying the light as it travels.
With each pass through the coiled fiber, the light stimulates the emission of more photons, dramatically amplifying the beam's power. This concentrated light is then precisely directed and focused through mirrors and lenses, transforming it into an extremely precise cutting tool. It’s similar to a magnifying glass focusing sunlight to create a burning point, but with exceptional accuracy and control.
Advantages of Fiber Lasers for DIY
This unique operation provides several key benefits for DIY fiber laser cutter projects:
-
Higher Precision: The intensely focused beam allows for exceptionally fine and intricate cuts in various materials, opening up a world of design possibilities.
-
Greater Efficiency: Fiber lasers are remarkably efficient, converting a higher percentage of input power into usable laser output. This leads to lower operating costs and increased cutting speeds, a significant advantage for cost-conscious DIY projects.
-
Lower Maintenance: Unlike CO2 lasers, fiber lasers have no mirrors or gas mixtures to maintain, simplifying upkeep and freeing up more time for actual creation.
-
Compact Design: The compact size of fiber lasers makes them ideally suited for home workshops where space is often at a premium.
The availability of fiber laser technology is also expanding rapidly. The global fiber laser market reached $1.8 billion in 2017 and is projected to reach $4.4 billion by 2025. This represents a compound annual growth rate (CAGR) of 11.9% from 2018 to 2025. Find more detailed statistics here.
This growth is driven by the increasing demand for high-precision and cost-effective solutions across various industries. This surge in popularity benefits DIY enthusiasts, with more affordable fiber laser models now available on platforms like Alibaba and Amazon, often starting around $2,500. This increased accessibility is putting powerful tools within reach of a broader community of makers, empowering DIYers to achieve professional-grade results in their own workshops.
Essential Components: What You'll Actually Need
Building a DIY fiber laser cutter is a rewarding project. However, it requires careful planning and selecting the right components. It's not simply assembling parts. It's about knowing how each piece contributes to the final machine.
The laser source is the core of the system, determining the cutting power and precision. Choosing the right laser is essential for professional-quality results. Motion control systems and supporting components are equally critical. Let's delve into the key elements of a fiber laser cutter.
The Laser Source: Power and Precision
The fiber laser module is arguably the most critical component. This compact device generates the focused beam for precision cutting. Choosing the right power level is essential.
A higher wattage, like 1500W or more, cuts thicker materials such as steel. Lower wattages are better for engraving and thinner materials. Consider the balance between power and application carefully. You might find this helpful: How to master....
Even with the best laser, your DIY cutter needs a robust motion control system.
Guiding the Beam: Motion Control Systems
Precise movement is key for accurate cuts. A standard setup uses a three-axis system (X, Y, and Z). The X and Y axes control horizontal movement of the cutting head. The Z-axis handles vertical focus.
Stepper motors or servo motors drive these movements. Stepper motors are more affordable. Servo motors offer better speed and precision, but cost more. The controller board acts as the system's brain, translating designs into precise motor movements.
Before we discuss supporting components, let's look at the core parts you'll need. The following table details budget, mid-range, and premium options, along with critical safety factors for each.
Essential Components for DIY Fiber Laser Cutters Comprehensive breakdown of required components with budget and premium options
| Component | Budget Option | Mid-Range Option | Premium Option | Critical Safety Factor |
|---|---|---|---|---|
| Laser Source | 1000W Raycus | 2000W IPG | 4000W nLIGHT | Wavelength compatibility with safety glasses |
| Cutting Head | Manual Focus Raytools BT220 | Auto Focus Raytools BM111 | Auto Focus Precitec ProCutter | Proper lens cleaning and alignment |
| Motion Control System | Stepper Motors with Arduino Controller | Leadshine Servo Motors with DSP Controller | Yaskawa Servo Motors with Industrial PC | Emergency stop functionality |
| Chiller | CW-3000 | CW-5000 | CW-5200 | Adequate cooling capacity for laser source |
| Enclosure | DIY Plywood Enclosure | Pre-built Metal Enclosure | Fire-resistant Enclosure with Interlocks | Proper ventilation and fire suppression |
This table provides a starting point for your component selection. Remember to research specific models and choose options that align with your budget and performance goals. The safety factors listed are crucial and shouldn't be compromised.
Supporting Components: Ensuring Optimal Performance
Several supporting elements are essential. A chiller unit regulates the laser's temperature, preventing overheating. A high-quality cutting head focuses the beam onto the material, significantly affecting cut quality. An air assist system helps remove debris and prevent ignition.
These supporting components are often overlooked but are as important as the laser itself. The fiber laser market is expected to reach $9.91 billion by 2030, growing at a CAGR of 11.71% from 2024. This growth demonstrates increased demand for these technologies: Fiber Laser Market Growth. This growth is making components more affordable for hobbyists.
Safety First: Protecting Yourself and Your Equipment
Safety is paramount. Laser safety glasses specific to your laser's wavelength are essential. A fully enclosed cutting area contains stray laser light. Proper ventilation removes fumes. These safety measures are vital for any DIY build. A good fiber laser cutter combines performance and safety.
Building Your Fiber Laser: The Step-by-Step Journey
Turning the complex theory of fiber lasers into a functioning DIY cutter is a detailed process. It all starts with the right workspace. A clean, organized, and well-lit area with good ventilation is essential for safety and efficiency. This creates the foundation for a successful build.
Preparing Your Workspace
Gather all components and tools before starting assembly. Having the correct tools is crucial for assembling your fiber laser cutter. While geared toward plumbing, a list of faucet installation tools demonstrates the importance of specialized tools for any DIY project. A dedicated, distraction-free workspace will minimize errors and ensure a smooth process. Next, we’ll tackle the frame assembly.
Constructing a Stable Frame
The frame provides stability and minimizes vibrations, essential for accurate laser cutting. A rigid material like aluminum extrusion or steel is ideal. Precise measurements and careful assembly are key, as any misalignment can impact the laser cutter's performance. This careful preparation sets the stage for mounting the laser source.
Mounting the Laser Source
Correctly mounting the fiber laser module is critical. This usually involves securely attaching the module to the frame with appropriate brackets and ensuring proper alignment. This precise positioning guarantees the laser beam is accurately directed, maximizing cutting effectiveness. After the laser source is installed, we integrate the motion control system.
Integrating Motion Control
The motion control system, made up of stepper or servo motors, guides the laser head along the X, Y, and Z axes. Wiring these motors to the controller board requires close attention to the provided wiring diagram. Testing each axis individually after connection confirms proper function and prevents future problems. Accurate motion control is vital for creating intricate designs.
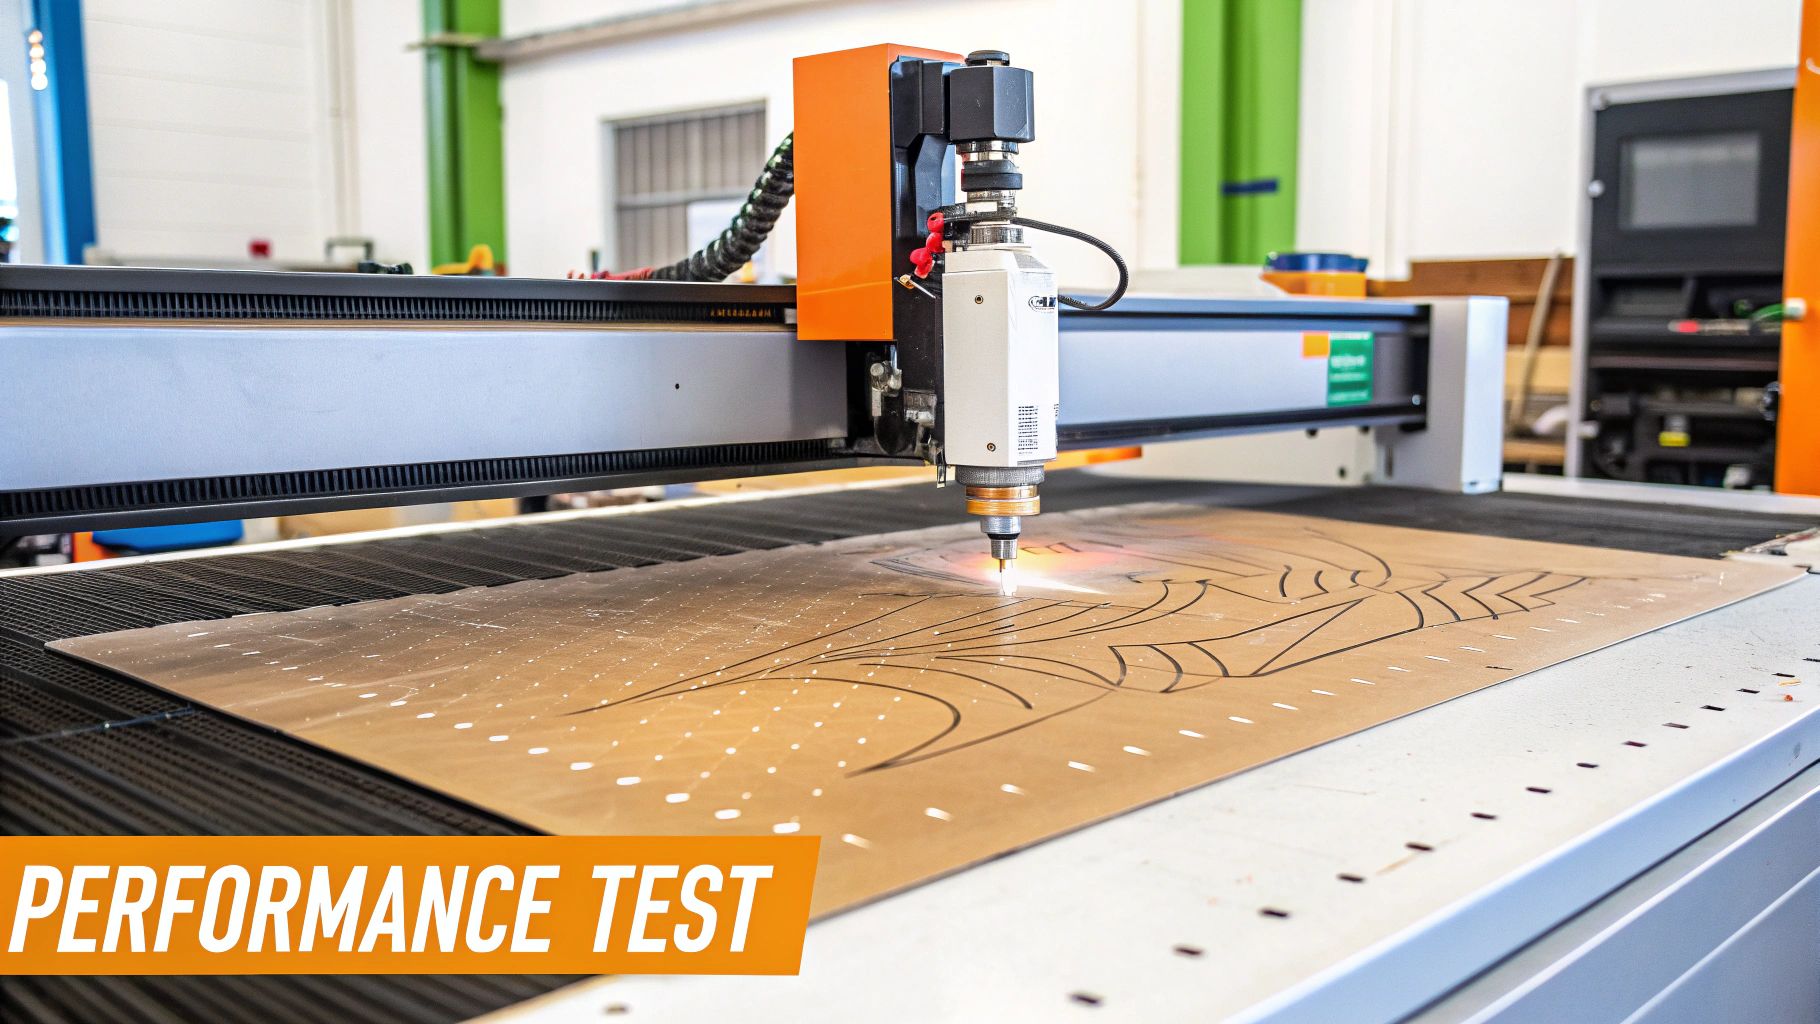
Electrical System Integration and Testing
Connecting the power supply, chiller, and control system requires following specific wiring instructions. Double-checking every connection is crucial for safety and proper function. Testing the system at low power before full power operation is vital. This helps identify any wiring mistakes or faulty components early on. The fiber laser market itself influences even DIY projects. Fiber lasers have a substantial share of the laser cutting machine market thanks to their efficiency and versatility. In 2016, low-power fiber lasers held a 61.03% share of the US market. Growing demand, fueled by manufacturing automation and applications like material processing and lithography (with 44.3% of the market share in 2019), affects component availability and cost, even for DIY builders. Learn more about this market. This integration and testing phase marks a major step.
Final Assembly and Calibration
The final steps involve enclosing the laser cutter in a protective housing with safety interlocks and ventilation. Calibrating the laser head's focus and alignment with the material is crucial before the first test cut. This meticulous calibration ensures precision and accuracy, resulting in clean, high-quality cuts. This completes the build and marks the beginning of your creative journey with your DIY fiber laser cutter.
Mastering The Digital Brain Of Your Laser Cutter
The software you choose for your DIY fiber laser cutter acts as its digital brain, transforming your designs into precise, tangible cuts. Selecting the right software is just as important as choosing the right hardware components. This careful selection can have a major impact on the quality of your finished product. Different software solutions offer various levels of control and compatibility with other design programs.
Choosing The Right Control Software
There are two main types of laser cutter control software: commercial and open-source. Commercial software tends to provide a more user-friendly experience, coupled with dedicated technical support. This can be a huge help for those just starting out. Of course, these features come at a cost.
Open-source software, conversely, is free and highly customizable. Its flexibility attracts experienced makers. However, working with open-source requires a deeper understanding of software and potentially some coding skills.
-
Commercial Software Options: Commercial packages provide a range of features. These range from basic design tools to more advanced functionalities, including power mapping and material libraries. LightBurn and RDWorks are two common choices for DIY fiber laser cutter enthusiasts.
-
Open-source Software Alternatives: Open-source solutions like GRBL and LaserWeb offer extensive customization options. This is especially useful for makers who need very specific functionalities. A robust online community provides support and troubleshooting resources.
Configuring Key Parameters
Whether you choose commercial or open-source software, understanding key parameters is essential for professional results. These settings govern how the laser interacts with your chosen material. Incorrect settings can result in poor-quality cuts or even damage the material itself.
-
Power Mapping: This feature allows you to adjust the laser’s power output at different points during the cut. Think of it like a painter varying their brushstrokes to create different effects. You can fine-tune performance for intricate details and sharp corners.
-
Speed Control: The speed of the laser cut has a direct impact on quality and precision. Slower speeds are generally better for thicker materials or more complex designs. For thinner materials and simpler cuts, you can use a faster speed.
-
Material-Specific Settings: Each material requires unique laser settings. This optimization ensures the best possible results while protecting against damage. These settings, often pre-programmed in commercial software or available online for open-source alternatives, consider factors like material thickness, reflectivity, and how well it absorbs heat.
Workflow From Design To Cut
A typical workflow starts in a vector graphics program like Inkscape or Adobe Illustrator. These programs allow you to create the digital blueprints for your projects. After finalizing your design, you export it in a format compatible with your laser cutter software. The software translates the design into instructions for the laser cutter's motion control system.
Compatibility issues can sometimes arise between your design software and laser cutter software. It's always a good idea to check for compatibility beforehand to avoid frustration.
Learning From Experienced Makers
Numerous online forums and communities dedicated to DIY fiber laser cutters are available. These are great resources for advice and support. Learning from others' experiences can help you bypass common pitfalls and find optimization techniques for different applications. This shared knowledge base is a valuable asset. Whether you're working on intricate metal art or precise mechanical components, you'll find a wealth of information shared within these communities.
Keeping It Safe: Non-Negotiable Safety Protocols
A DIY fiber laser cutter unlocks incredible creative potential, but it's essential to understand the safety risks involved. Building your own machine means you're responsible for its safe operation. This demands a proactive approach, integrating safety into every design and build step.
Electrical Safety: Powering Your Creation Safely
Electrical safety is paramount in any DIY project, especially with high-powered equipment like fiber laser cutters. Ground fault protection systems are essential. These systems instantly cut the power if a short circuit occurs, preventing serious shocks. Easily accessible emergency stops are also crucial. Place them strategically so you can quickly shut down the machine in a critical situation. Finally, power conditioning ensures a clean, stable power supply to your laser cutter, protecting its sensitive components and improving reliability.
Laser Safety: Protecting Your Eyes and Skin
The intense beam of a fiber laser is a serious hazard to your eyes and skin. A protective housing around your laser cutter is essential to contain stray light. This housing needs viewing windows made from the correct laser-filtering material. These windows let you monitor the cutting process without risking eye damage from harmful radiation. You might be interested in this resource: How to master...
Personal Protective Equipment (PPE) is your last line of defense. Always wear laser safety glasses designed for your fiber laser's wavelength. These glasses effectively block the harmful radiation. Regular safety glasses or sunglasses won't provide enough protection.
Ventilation and Fire Prevention: Minimizing Risks
Fiber laser cutting creates fumes and particles that are harmful if inhaled. A proper ventilation system is vital for removing these contaminants from your workspace. This system should combine local exhaust ventilation at the cutting zone with general ventilation for the entire workshop. Fiber lasers generate intense heat, so fire prevention is also critical. Using fire-resistant materials inside the enclosure and having a fire extinguisher nearby can prevent small sparks from becoming serious fires.
The following table outlines the safety requirements for different classes of fiber lasers:
Fiber Laser Safety Requirements by Power Level
| Laser Class | Power Range | Required Safety Features | PPE Requirements | Ventilation Needs |
|---|---|---|---|---|
| Class 1 | <0.4 mW | Interlocks, warning labels | None | General room ventilation |
| Class 2 | 0.4-1 mW | Interlocks, warning labels, beam indicator | Laser safety eyewear | General room ventilation |
| Class 3R | 1-5 mW | Interlocks, key control, warning labels, beam indicator | Laser safety eyewear | Local exhaust ventilation recommended |
| Class 3B | 5-500 mW | Interlocks, key control, warning labels, beam indicator, enclosed beam path | Laser safety eyewear, fire-resistant clothing | Local exhaust ventilation required |
| Class 4 | >500 mW | Interlocks, key control, warning labels, beam indicator, enclosed beam path, non-reflective surfaces, emergency stop | Laser safety eyewear, fire-resistant clothing, laser safety curtains | Local exhaust ventilation and potentially filtration required |
This table summarizes the key safety measures and PPE based on laser power. Remember, higher power lasers necessitate more stringent safety precautions.
Real-World Considerations and the Importance of Safety
The industrial fiber laser landscape is heavily influenced by major markets like North America, Europe, and the Asia-Pacific region. In North America, the U.S. automotive and aerospace industries are key drivers. The Asia-Pacific region holds the largest market share due to its growing electronics and automotive sectors, projected to grow at a CAGR of 6.5% from 2024 to 2030. DIY enthusiasts may face challenges accessing high-quality fiber lasers due to cost and technical expertise, but community projects and online forums offer valuable resources. Explore this topic further.
Safety in a DIY fiber laser project is more than just a checklist. It’s about understanding the consequences of overlooking seemingly small details. Inadequate ventilation can cause long-term respiratory issues, and a poorly designed enclosure could result in serious eye injuries. Prioritizing safety at each build stage ensures your project is both creative and safe.
Unleashing Your Fiber Laser's Creative Potential
Your DIY fiber laser cutter isn't just a tool; it's a key to a world of exciting projects. From precision metal cutting to intricate engravings, the possibilities are truly remarkable. Let's explore the range of materials your new machine can handle and see how makers are putting this technology to work.
Exploring Material Capabilities
DIY fiber laser cutters shine when working with various metals. They produce clean cuts in thin sheet metals such as stainless steel, aluminum, and brass. This makes it possible to create custom electronics enclosures, intricate jewelry, and even unique mechanical parts. Beyond cutting, fiber lasers can also create detailed engravings on metal, allowing for personalized designs, complex artwork, and distinctive product branding.
Makers, for instance, are now crafting custom enclosures perfectly tailored for electronics projects, precisely fitting Raspberry Pi computers or Arduino boards. Artists are using fiber lasers to etch intricate patterns onto metal jewelry or create captivating wall art. The precision of a fiber laser allows for exceptionally fine details, transforming simple metal sheets into beautiful, functional pieces.
Practical Applications and Creative Ventures
The uses of a DIY fiber laser cutter extend beyond hobbyist endeavors. Small businesses utilize these machines to produce prototypes and small batches of custom parts, resulting in significant time and cost savings. This rapid creation of custom components is invaluable for product development and small-scale manufacturing.
The creative possibilities are equally impressive. Makers are exploring the realm of metal art, producing sculptures, decorative items, and personalized gifts. This provides a new avenue for artistic expression, using the precision and capability of fiber lasers to bring imaginative designs to life.
You might be interested in: Further exploring laser applications.
Optimizing Parameters and Achieving Specialized Finishes
Getting professional results with your DIY fiber laser cutter involves understanding the parameters specific to each material. Different metals react differently to the laser's energy, so adjusting settings like power, speed, and frequency is crucial.
- Power: Higher power is required for thicker materials, whereas lower power is suited for engraving and thinner sheets.
- Speed: Slower speeds typically yield cleaner cuts, particularly with intricate designs.
- Frequency: Modifying the pulse frequency can affect the cut quality and the final surface finish.
Experimentation is essential. By testing and refining your approach, you can find the ideal settings for each material and achieve a variety of distinctive finishes. For example, adjusting the laser parameters can produce different textures on the metal, ranging from a smooth, polished look to a rough, textured effect.
Pushing Your Machine to Its Full Potential
Whether your focus is practical or artistic, a DIY fiber laser cutter provides remarkable versatility. By understanding its capabilities, exploring diverse materials, and experimenting with parameters, you can unlock your machine's full potential. From functional projects to creative pursuits, your DIY fiber laser cutter allows you to bring your ideas to life with precision and style.
Ready to delve into the world of laser cutting? Visit Laser Insights China for expert advice, technical information, and inspiration for your next project. Discover the latest in laser technology and connect with a community of passionate makers.
